Keeping your baby’s feeding gear clean isn’t just about appearance — it’s about protecting their health. Baby bottles come into direct contact with milk, formula, and your baby’s mouth, making them a potential breeding ground for bacteria if not cleaned properly.
While it might seem like a simple task, cleaning baby bottles the right way requires attention to detail and consistency. In this guide, you’ll learn how to clean bottles step by step, why it matters, and how to store them safely after each use.
Why Proper Bottle Cleaning Is Essential
Babies — especially newborns — have immature immune systems, which makes them more vulnerable to germs. Milk, whether breast milk or formula, leaves behind residue that can quickly turn into bacterial buildup if not cleaned properly.
The risks of improper cleaning include:
- Stomach infections or diarrhea
- Mold or yeast contamination
- Nutritional loss from spoiled milk
- Risk of colic or gas caused by bacterial residue
- Unpleasant odors or staining of bottles
Even if bottles look clean, invisible milk proteins and bacteria can still linger — so cleaning must be thorough.
When Should You Clean Baby Bottles?
Always clean bottles:
- Immediately after each use, if possible
- If milk/formula has been sitting in the bottle
- Before sterilizing
- After being stored for several days unused
If you can’t clean a bottle right away, rinse it with warm water and leave it disassembled to avoid dried-on residue.
What You’ll Need to Clean Baby Bottles
You don’t need a lot of special tools, but a few key items will make the job easier and more effective.
Bottle cleaning essentials:
- A dedicated bottle brush
- A small nipple brush or sponge for small parts
- Baby-safe dish soap (fragrance-free, gentle)
- Clean hot water
- Drying rack or clean dish towel
- Optional: Bottle washing basin (to avoid sink contamination)
- Optional: Dishwasher with sanitizing setting
Make sure brushes and tools used for bottles are not used for other kitchen cleaning — this helps avoid cross-contamination.
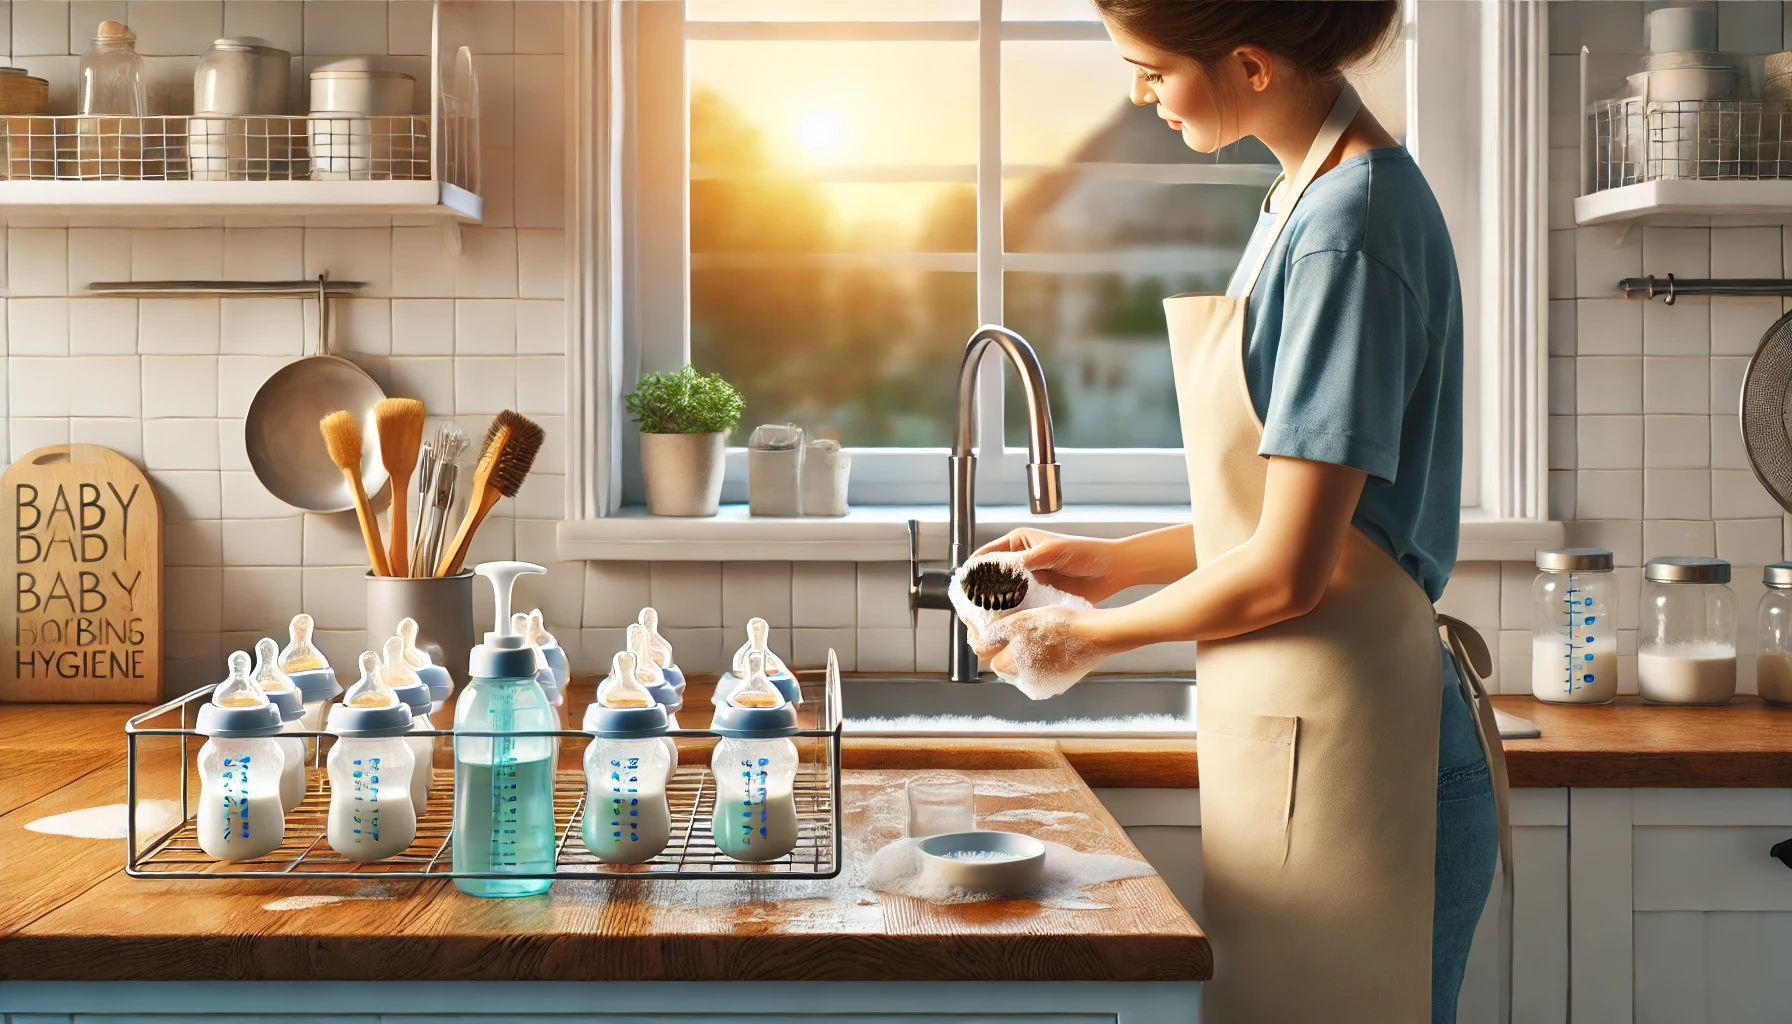
Step-by-Step: How to Clean Baby Bottles by Hand
Hand-washing is a safe, reliable method that works in any home.
Step 1: Disassemble the Bottle
Take the bottle apart completely — remove the nipple, ring, cap, valve, and any internal vent systems. Cleaning each part separately is essential for removing hidden milk residue.
Step 2: Rinse Immediately
Rinse all parts under running water to remove any leftover milk. Use warm (not hot) water to help loosen dried milk.
Step 3: Soak in Warm, Soapy Water
Fill a clean basin or large bowl (not the sink itself) with hot water and add a few drops of baby-safe dish soap. Let bottle parts soak for 5–10 minutes.
Step 4: Scrub Thoroughly
Use your bottle brush to scrub the inside of the bottle and the base. Use a smaller brush or nipple brush to clean the inside of the nipple and small crevices.
Pay special attention to:
- Threaded areas (milk can collect in grooves)
- Vents or valves (often found in anti-colic bottles)
- Bottle bases and nipples, where milk residue builds up
Avoid using abrasive pads, which can damage plastic and create scratches where bacteria can hide.
Step 5: Rinse Again
Rinse each part under clean running water to remove all soap residue.
Step 6: Air-Dry Completely
Place bottles and parts upside down on a clean, dry surface — ideally a drying rack dedicated to baby items. Allow everything to air-dry completely before reassembling or storing.
Do not towel-dry, as this can transfer bacteria from the fabric onto clean items.
How to Clean Bottles in the Dishwasher
If your bottles are labeled dishwasher safe, this method can save time — but be sure to use the correct settings.
Dishwasher cleaning tips:
- Place all small parts in a mesh basket or top rack to prevent them from falling
- Use a hot water cycle and heated drying or sanitizing setting
- Avoid harsh detergents — look for baby-friendly or fragrance-free options
- Clean your dishwasher regularly to remove food buildup and soap residue
Always double-check manufacturer instructions before putting any part in the dishwasher.
How to Clean Hard-to-Reach Bottle Parts
Some modern bottles include vents, straws, or internal mechanisms that are harder to clean.
What helps:
- Use tiny brushes or straw cleaners for narrow openings
- Soak parts in vinegar and hot water if buildup is visible
- Use sterilization bags or UV sterilizers after washing
- Replace damaged or moldy parts immediately
If you can’t clean a part completely, it’s better to replace it than risk bacterial exposure.
Should You Sterilize After Cleaning?
Yes — especially for newborns (0–3 months), premature babies, or babies with health conditions. Even with proper cleaning, sterilizing adds an extra layer of protection.
When to sterilize:
- After the first use of new bottles
- Daily for babies under 3 months
- After illness
- If items were dropped or contaminated
- Once a week for older babies (optional)
Sterilization can be done by boiling, steaming, microwaving, or using UV light (see the previous article for full sterilizing methods).
How to Store Clean Baby Bottles Safely
Clean bottles are only as safe as where you store them. Avoid just tossing them into a drawer or onto a countertop.
Best storage practices:
- Let all parts dry completely before storing
- Keep bottles disassembled to allow airflow
- Use a sealed, clean container or bin
- Avoid damp dish towels or enclosed spaces without ventilation
- Store in a high cabinet or shelf away from dust and food prep areas
If using bottles daily, it’s fine to leave them on a drying rack — just clean the rack regularly.
Common Cleaning Mistakes to Avoid
Even with the best intentions, some practices can reduce the effectiveness of your cleaning routine.
Avoid:
- Skipping disassembly — leftover milk hides in seams
- Using dirty brushes or sponges
- Towel drying with shared kitchen cloths
- Letting milk sit in bottles for hours
- Using harsh or scented soaps that leave residue
- Storing damp or partially dried bottles
Staying consistent with proper cleaning makes feeding safer and easier.
Final Thoughts
Properly cleaning baby bottles may seem like a small task, but it plays a big role in your baby’s health and well-being. By following a consistent routine — and understanding why each step matters — you’re creating a safe and nourishing feeding experience every time.
Whether you wash by hand or use a dishwasher, the goal is the same: clean, germ-free bottles ready for your growing baby. With the right tools, a little planning, and a calm approach, this part of your routine can be simple and stress-free.
You’re doing an incredible job — one bottle at a time. 🍼💙

